


















A rental property inspection checklist should record condition, safety, function, maintenance, and follow-up without turning every visit into a general search for faults. Choose the inspection type before entering the property.
A useful report shows what was observed, where it was found, what evidence supports it, who owns the next action, and when the item will be checked again.
Choose the Inspection Purpose Before You Begin
The same rental home needs different checks at move-in, during occupancy, after repair work, and at move-out. A rental property inspection checklist should match that purpose because one undifferentiated list creates weak evidence and unnecessary intrusion.
Use the rental property inspection checklist that matches the purpose. Do not collect photographs or enter rooms that have no reasonable connection to the inspection.
Use the rental property management guide to connect inspection findings with tenant communication, maintenance planning, contractors, records, and follow-up.
How Do Inspections Fit the Tenancy Timeline?
A landlord inspection checklist should not assume that routine inspections happen on one national schedule. Frequency, notice, consent, entry, and privacy rules vary by jurisdiction, lease, and housing program.

What Areas Should a Rental Inspection Cover?
HUD’s NSPIRE model organizes inspected property into the unit, inside areas, and outside areas. That framework is designed for HUD housing, but it illustrates a useful principle: the occupied home, shared interior spaces, and exterior systems need distinct observations. Review the official HUD NSPIRE inspectable areas.
Entrances and Security
Check entry doors, frames, locks, latches, keys, gates, shared entrances, exterior lighting, and safe access routes.
Record function and visible damage rather than guessing who caused it.
Walls, Ceilings, and Floors
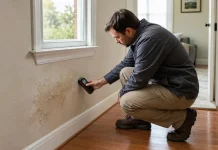
Look for active moisture, staining, cracks, loose finishes, trip hazards, lifting flooring, impact marks, and changes from earlier records.
Use location-based photographs so later comparison is possible.
Windows and Ventilation
Check operation, locks, glazing, screens, seals, condensation, visible leaks, extract fans, and airflow concerns.
Do not force a stuck component or dismantle ventilation equipment during a visual inspection.
Kitchen and Plumbing
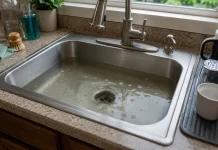
Observe faucets, sinks, drains, exposed supply lines, cabinets, appliance condition, water staining, and safe operation of supplied equipment.
Use controlled testing only where it is safe and within the inspection scope.
Bathroom and Moisture
Check fixtures, toilet stability, visible leaks, sealant, grout, ventilation, flooring, water damage, and surfaces that remain damp.
Record the visible source and affected area rather than labeling every mark as mold.
Heating, Electrical, and Alarms
Observe supplied heating and cooling, thermostat response, visible electrical damage, panel access, smoke alarms, carbon monoxide alarms, and obvious safety concerns.
Do not remove electrical covers or test systems beyond your competence.
Bedrooms, Storage, and Furnished Items
Check doors, closets, flooring, walls, windows, supplied furniture, mattresses, and any inventory listed in the tenancy record.
Keep photographs focused on property condition, not personal belongings.
Exterior, Drainage, and Shared Areas
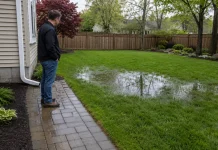
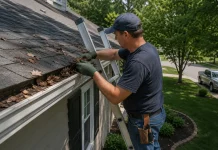
Look at steps, rails, paths, gutters, downspouts, standing water, refuse areas, fences, shared lighting, parking, and obvious exterior defects.
Record conditions that affect access, water movement, security, or building maintenance.
Utility and Emergency Information
Confirm safe access to known shutoffs, meter locations, emergency contacts, and any instructions the tenant needs for reporting urgent problems.
Do not operate a shutoff merely to prove that it exists.
How Should Condition Be Rated?
A rental inspection report becomes more useful when condition terms have consistent meanings. Avoid vague labels such as “bad” or “fine.”
The rating should reflect the current evidence, not the expected repair cost. A low-cost lock failure may be urgent, while an expensive cosmetic replacement may remain planned work.
How Should Safety and Maintenance Findings Be Separated?
| Finding type | Example evidence | Inspection response | Next record |
|---|---|---|---|
| Immediate safety concern | Suspected gas, severe electrical damage, structural instability, fire, major flooding, unsafe access, or an immediate threat to people | Stop the inspection activity, restrict access where possible, and use the appropriate emergency or utility response | Incident record, emergency contact, temporary control, specialist assessment, and follow-up |
| Urgent functional defect | Failed entry security, active leak, essential-service loss, sewage concern, unsafe stair, or rapidly worsening damage | Photograph safely, confirm the current effect, create an urgent work order, and update the tenant | Priority, access, contractor, temporary measure, completion evidence, and review date |
| Routine repair | Loose hardware, slow drain, minor appliance fault, damaged seal, isolated wall defect, or non-dangerous fixture problem | Record location, function, evidence, and repair scope without overstating urgency | Routine work order, budget approval, access plan, invoice, and closure check |
| Preventive maintenance | Worn seal, aging finish, filter service, early corrosion, seasonal cleaning, or developing exterior wear | Add the item to the maintenance plan with a condition trigger and target period | Maintenance schedule, owner, target date, and evidence at the next visit |
| Condition evidence only | Existing scuff, faded finish, old repair, minor wear, supplied item condition, or tenant-reported mark | Record the baseline without assigning blame or creating unnecessary work | Condition report, dated photograph, location, and comparison reference |

What Makes Inspection Photographs Useful?
Photographs should support the written record. They should not replace location, date, condition, context, or follow-up.
Capture Context and Detail
Take one wider image that identifies the room or component, then a closer image of the specific mark, defect, or repair.
Use similar angles at move-in and move-out when comparison matters.
Name the Location Clearly
Use the property, date, room, wall, fixture, and observation in the filename or record entry.
“Kitchen sink cabinet, rear-left corner” is more useful than “IMG_1042.”
Protect Privacy
Avoid personal documents, screens, medications, family photographs, valuables, and unrelated possessions.
Take only the images reasonably needed for the property condition or repair record.
A practical rental inspection checklist records the same areas at the beginning and end of occupancy. HUD provides a move-in and move-out inspection form that demonstrates this comparison principle within a HUD context. Review the HUD Move-In/Move-Out Inspection Form.
What Notice and Access Rules Apply?
A rental property inspection checklist does not create a right to enter. The lease and applicable law control notice, timing, purpose, emergency entry, tenant presence, privacy, and frequency.
State the inspection purpose, proposed date and time, expected duration, areas involved, who will attend, whether photographs are planned, and how the tenant can raise an access concern.
Use a reasonable scope. A repair verification does not justify a full property inspection unless notice and the purpose clearly cover it.
USA.gov directs renters and landlords to state-specific agencies and tenant-rights resources because access and complaint procedures vary by location. Review its tenant rights directory.
What Order Should the Inspection Follow?
A repeatable route reduces missed areas and keeps the visit focused. The rental property inspection checklist should follow the same room order whenever later comparison is important.
1. Confirm Purpose and Existing Records
Review the lease, inspection notice, previous report, open repair requests, move-in record, and any areas the tenant has asked you to inspect.
2. Begin With Access and Exterior
Observe entry security, paths, steps, rails, lighting, drainage, shared areas, and visible exterior conditions before moving inside.
3. Follow One Room Order
Move through the home in a fixed sequence. In each room, review surfaces, windows, doors, supplied items, ventilation, visible moisture, and reported concerns.
4. Test Only Appropriate Functions
Operate ordinary controls such as taps, windows, locks, and supplied appliances only when the scope allows and safe use is clear.
5. Rate and Assign Each Finding
Use the condition scale, note urgency, assign the next action, and identify whether a specialist assessment is required.
6. Review Findings With the Tenant
Explain the factual observations, urgent actions, access needs, and expected follow-up without making unsupported conclusions about cost or blame.
7. Close the Report
Issue the report, create work orders, save photographs, record unresolved questions, and set the next review date.
How Should Post-Repair Inspections Work?
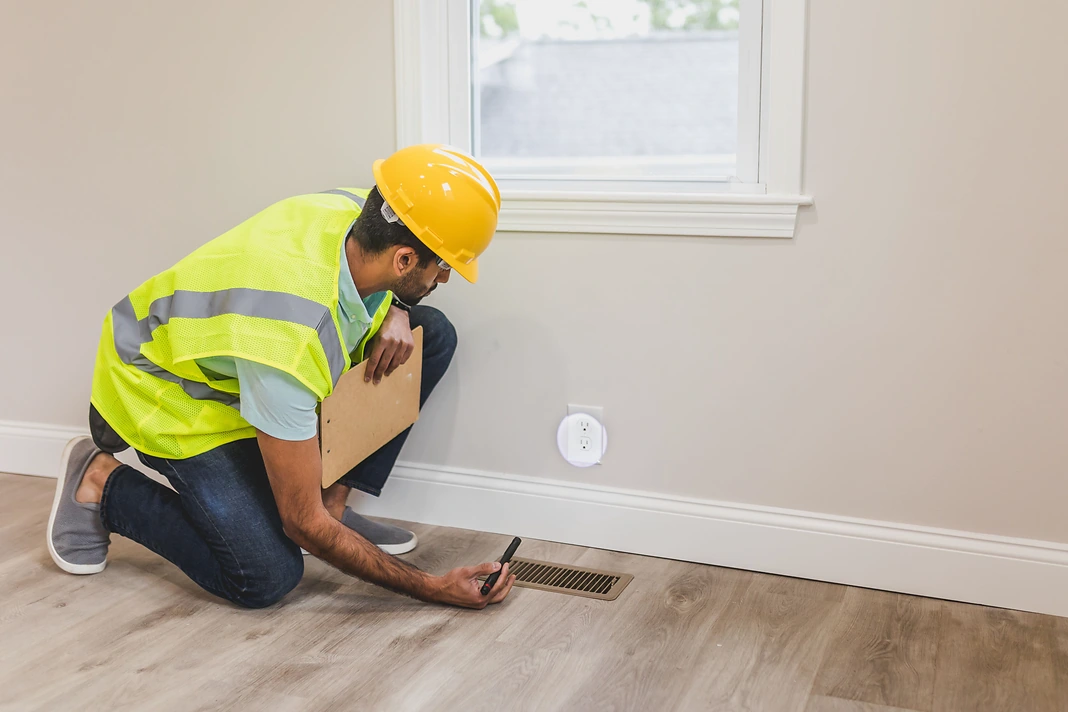
A post-repair check should test the reported function and surrounding area. It should not simply confirm that a contractor attended.
How Do You Separate Normal Wear From Damage?
The rental property inspection checklist should record evidence, not decide every cost dispute during the visit. Compare age, expected life, previous condition, pattern, cause, maintenance history, and local rules.
When a finding raises a responsibility or cost question, use the landlord repair responsibilities guide to separate owner-controlled defects, ordinary wear, tenant damage, and jurisdiction-specific repair duties.
| Observation | May indicate ordinary wear | May require damage review | Evidence to compare |
|---|---|---|---|
| Walls and paint | Fading, light scuffs, minor marks, and gradual wear in high-use areas | Large holes, burns, deep gouges, unauthorized colors, or concentrated impact damage | Move-in photos, paint age, earlier inspections, repair history, and location pattern |
| Flooring | Flattened traffic areas, gradual finish wear, light scratches, and age-related change | Burns, deep cuts, pet saturation, broken boards, or one severe impact area | Material age, expected life, room use, baseline photos, and contractor assessment |
| Doors and hardware | Loose handles, worn seals, minor rubbing, and gradual hinge movement | Forced frames, broken locks from impact, missing hardware, or unauthorized alteration | Prior function, repair requests, key records, photographs, and security incidents |
| Appliances and fixtures | Age-related failure, worn seals, corrosion, and ordinary component decline | Impact damage, missing parts, unsuitable items in drains, or operation against clear instructions | Model age, service history, manuals, tenant reports, and specialist findings |
| Cleaning and residue | Normal use that responds to standard turnover cleaning | Heavy contamination, abandoned waste, staining, or damage beneath neglected buildup | Lease standard, move-in condition, photographs, cleaning scope, and local deposit rules |
How Should Move-Out Condition Be Compared?
Use the original move-in inspection checklist and condition report. Repeat the same route and photograph angles where practical.
Separate outstanding landlord maintenance, ordinary wear, cleaning, missing supplied items, tenant alterations, and possible damage. Do not deduct or assign cost during the walkthrough unless the evidence and local process support that decision.

When Do Lead-Related Inspection Findings Need Care?
In many pre-1978 homes, deteriorating painted surfaces may need prompt attention and repair work that disturbs paint may trigger federal lead-safe requirements. Do not scrape, sand, or disturb suspect paint during a condition inspection.
The EPA explains that landlords and property managers have disclosure responsibilities for many pre-1978 rentals and that damaged lead-based paint can create a hazard. Review its lead-based paint disclosure guidance.
You find suspected gas, exposed live electrical parts, structural instability, severe contamination, active sewage, uncontrolled water, fire damage, dangerous animals, violence, or another immediate risk.
Do not enter a hazardous area merely to complete the checklist. Restrict access where possible and contact the appropriate emergency service, utility, or qualified specialist.
What Should the Final Inspection Record Contain?
Record the property, unit, inspection type, purpose, notice, date, time, attendees, areas inspected, limitations, condition ratings, photographs, tenant comments, urgent action, repair priorities, responsible person, target dates, and follow-up.
Keep the original report unchanged. Add dated follow-up entries rather than rewriting earlier observations after repairs occur.
Store the inspection record with the tenancy file, related work orders, invoices, repair completion evidence, and the next scheduled review.
A Checklist Should Create Action, Not Only Observations
Frequently Asked Questions
What Should Be Included in a Rental Property Inspection Checklist?
Include access, exterior areas, rooms, doors, windows, plumbing, supplied appliances, heating, ventilation, alarms, moisture, repairs, and follow-up.
How Often Can a Landlord Inspect a Rental Property?
No national schedule applies. The lease, local law, inspection purpose, notice rules, housing program, and tenant privacy rights control access.
Should the Tenant Be Present During the Inspection?
Tenant presence can clarify condition and access, but it is not always required. Follow the lease, notice rules, and appointment terms.
Can a Landlord Take Photographs During an Inspection?
Rules vary. Give notice or obtain consent where required, photograph only property condition, and avoid unrelated personal belongings or documents.
What Is the Difference Between a Routine and Move-In Inspection?
Move-in records the starting condition. Routine inspections review maintenance, safety, tenant concerns, and changes during occupancy.
What Should a Landlord Look for During a Routine Inspection?
Check reported defects, moisture, security, safe access, supplied systems, ventilation, alarms, unauthorized changes, and earlier repair follow-up.
How Should Inspection Problems Be Prioritized?
Separate immediate hazards, urgent defects, routine repairs, preventive maintenance, and condition evidence. Assign each item an owner and review date.
What Makes a Rental Inspection Photo Useful?
Capture one context image and one detail image. Record the location, date, repeatable angle, and matching written observation.
How Should a Move-Out Inspection Be Compared With Move-In?
Follow the same route and compare move-in records. Separate maintenance, wear, cleaning, missing items, alterations, and possible damage.
Is This Rental Inspection Guide Legal Advice?
No. Check inspection notice, entry, privacy, deposits, photography, and record rules against the lease and applicable local law.

